


")
You’re probably familiar with the most common ways to trigger automations in Home Assistant. You can trigger an automation when the state of an entity changes, when you press a button, when presence is detected, or at a specific time of day. Today we’re going to take at some lesser-known triggers that can be just as useful.
Calendar trigger
Time-based triggers in Home Assistant can be useful, but you may have automations that you don’t necessarily want to run at the same time every day. You can use triggers to run automations on certain days of the week, but you still might not want them to run when you’re on vacation or on public holidays.

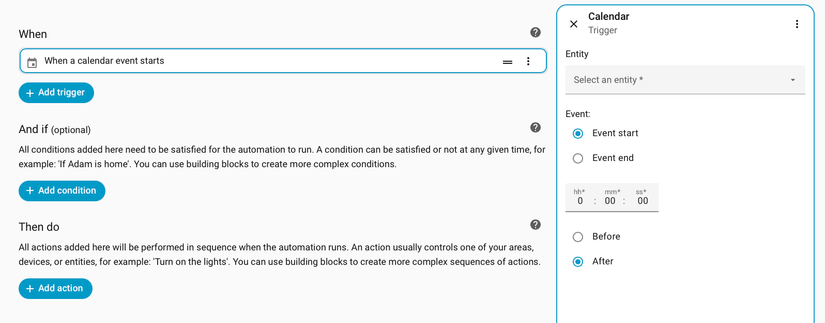
The calendar trigger is an ideal solution. You can use it to trigger an automation when an event in your calendar starts (or ends). By adding the appropriate events to your calendar, you get complete control over which dates and times your automation triggers.
For example, whenever guests visit, you can add “Guest” events to your calendar for the duration of their stay. You can then create an automation that will keep your guest mode enabled for every day of their stay, and automatically turn off when they’re no longer staying. You can also use it with the Workday helper to create automations that only run on days when you’re working, or have your home mimic your presence when you’re away on vacation.
Webhook trigger
Most triggers you can use in Home Assistant relate to things that are within your smart home. A motion sensor detects motion in your home, and a light turns on. Webhooks allow you to trigger automations completely externally by sending a unique webhook ID to your Home Assistant server. All you need is something that can send an HTTP POST request, such as the terminal app on your computer, an app on your phone, or an external service such as Zapier.

If the webhook is coming from outside your home network, you need your Home Assistant instance to be accessible remotely, for example, by using the Home Assistant Cloud service. You can then securely send webhooks to your Home Assistant server to trigger automations.
For example, if you use your PC for work calls, you can write a small script that sends a webhook to Home Assistant when your webcam turns on. This could then trigger an automation that turns the light outside your home office red, so that people know you’re on a call.
Zone trigger
When you first set up Home Assistant, it will ask for your home location during the onboarding process. This is used to create a “home” zone that has a 100-meter radius around the location you provided. You can use this zone to trigger automations with the zone trigger, which will fire when a person or object enters or leaves the relevant zone.

For example, you can use the zone trigger to turn off all your lights and power down your devices when the last person leaves the home zone and have them turn back on again when the first person re-enters the home zone.
The real power comes from the fact that you can add further zones to Home Assistant beyond just your home location. You could set up a “work” zone and use a zone trigger to send a message to your significant other to tell them that you’re on your way home. You can set up a zone for your local gym and use zone triggers to track how many days you work out, or set up a “school” zone and use zone triggers to alert you when your kids arrive at or leave school.
Tag trigger
Our smartphones are so packed with technology these days that it’s easy to forget about some of their features. Almost all modern smartphones include Near Field Communication (NFC) readers that allow them to read data from passive NFC tags.


You can use these with Home Assistant to turn cheap NFC tags into a simple way to trigger automations in Home Assistant. For example, I have NFC stickers stuck to the bottom of all the potted plants in my home. Whenever I water a plant, I scan the tag, and the tag trigger runs an automation that logs the date and time. I then receive a notification when it’s time to water that plant again.
There are plenty of other ways you can use NFC tags with Home Assistant. You can scan one at night to run your bedtime routine, or have a tag in the bathroom to add toilet paper to your shopping list when you notice you’re running low.
One benefit of NFC tags over smart buttons is that when you scan a tag, you can get the ID of the device that scanned it, which a button can’t provide. You can then have different actions in your automation depending on the person who scanned the tag.
Home Assistant is so packed with features that it can be easy to miss some of the useful tools that you have available. If you tend to stick to the same triggers in your automations, it’s worth taking a look at the other trigger options. You may be able to find better ways to trigger your automations or even get inspired to create automations you hadn’t thought of.
link